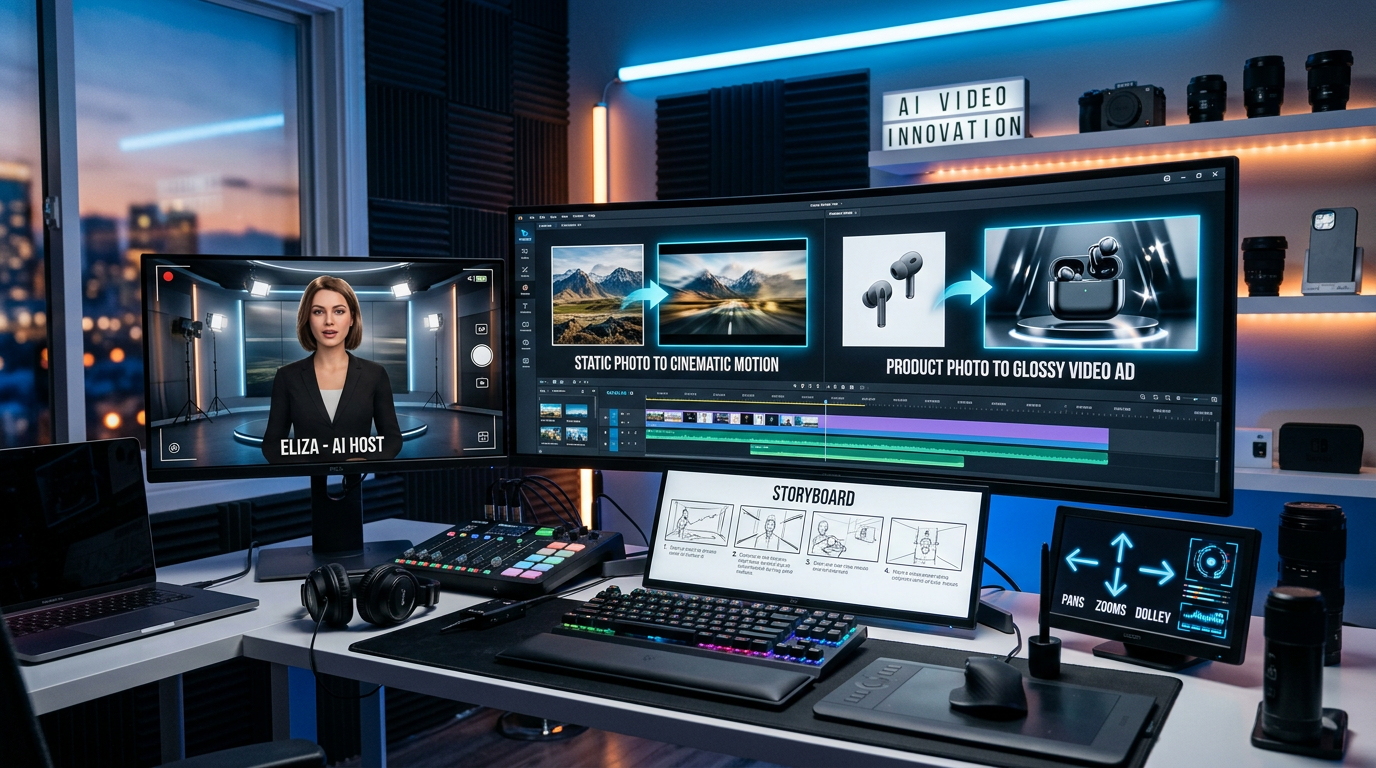
If you’ve ever generated an AI video that almost worked—great first second, then the character changes faces, the camera floats, and the ending falls apart—this guide is for you. Here’s a practical, editor-minded workflow for making stronger clips with Higgsfield using Kling, including shot-based prompting, continuity tricks, motion/camera control, and fast iteration.
At the end, I’ll also show when it’s smarter to skip extra layers and use Kling 3.0 AI video generator directly on Flux Pro AI.
What “Higgsfield Kling” is (and what it’s best at)
Think of Higgsfield Kling as a workflow that nudges you to build video like a creator: in shots and beats, not just “a vibe prompt.” That mindset makes a huge difference for:
- Mini storyboards (3–6 shots)
- Cinematic B-roll moments (push-in, pan, reveal)
- UGC-style product clips with a clear “before → after → CTA” rhythm
- Character-driven shorts where consistency matters
When you treat the model like a camera crew instead of a slot machine, you’ll get more usable outcomes—especially if you’re aiming for Kling 3.0 cinematic video generation that feels intentional.
Before you generate: prep that dramatically improves results
A little setup saves a lot of rerolls. Before writing a single prompt, decide these three constants:
-
Subject constant Who/what must stay the same? (character identity, product shape, logo, colorway)
-
World constant Where are we? (studio tabletop, neon street, cozy kitchen, sci-fi corridor)
-
Camera constant What’s the filming style? (handheld doc, stabilized dolly, slow tripod pan, macro lens)
If you do only one thing: write a one-sentence “creative brief” you’ll reuse across shots. This is the easiest way to get better continuity with Kling 3.0 character consistency.
Step-by-step: how to generate video with Higgsfield Kling
Step 1 — Choose Text-to-Video vs Image-to-Video
Text-to-Video is best when you’re exploring ideas or don’t need a specific product photo or character reference. It’s also good for mood reels and cinematic concept shots.
Image-to-Video is best when you already have a “locked” subject (product photo, character art, keyframe) and you want motion without identity drift. If you’re doing continuity-heavy work, start here with Kling 3.0 image-to-video workflow.
Common mistake: switching modes mid-project without re-stating your constants. Even if you reuse the same idea, your prompt should re-anchor the subject and camera language every time.
Step 2 — Write a “shot prompt,” not a vibe prompt
A vibe prompt says: “cinematic, beautiful, dramatic lighting.” A shot prompt says: “what’s on camera, what changes over time, and how the camera moves.”
Use this structure:
Subject → Scene → Action → Camera → Lighting → Style → Quality
Here’s a strong example for Kling 3.0 text-to-video:
A young woman in a black raincoat stands under a streetlamp on a wet alley. She exhales, breath visible, then turns and walks forward. Tracking shot from behind at waist height, slow steady camera, shallow depth of field, neon reflections on puddles, cinematic lighting, realistic motion, high detail.
Why it works: it defines a time-based progression (“then…”) and gives camera constraints, which usually improves motion realism.
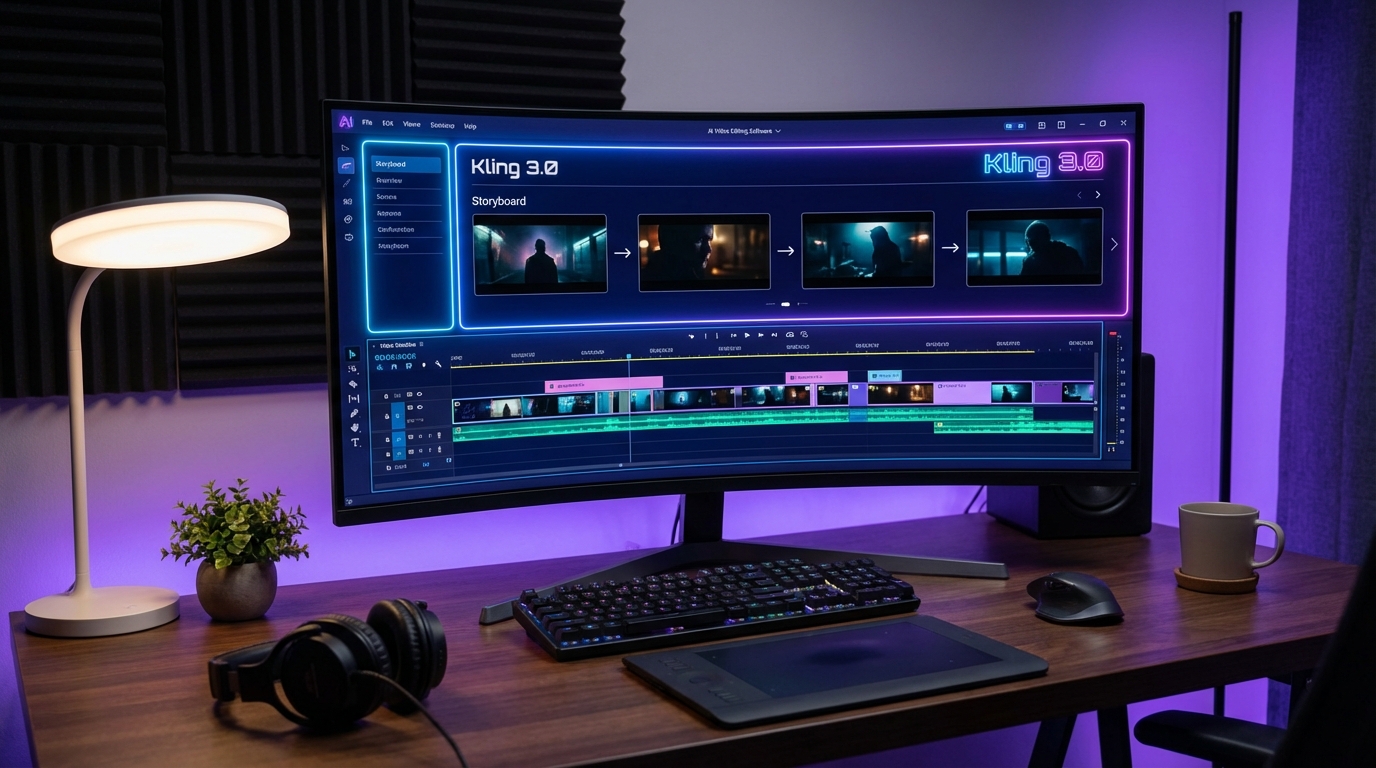
Step 3 — Build a multi-shot sequence (storyboard mindset)
If your clip is 10–15 seconds, break it into 3–6 micro-shots. Each shot should have one main job.
Example: “Product reveal” sequence using Kling 3.0 multi-shot storyboard thinking:
- Shot 1: Establish the setting (wide)
- Shot 2: Reveal the hero object (medium push-in)
- Shot 3: Detail moment (macro)
- Shot 4: Lifestyle payoff (hand picks it up / uses it)
- Shot 5: End frame that looks like a thumbnail (clean, readable)
Continuity rule: keep 80% the same, change 20%. Same subject identifiers, same environment, same camera “grammar.” Only vary the beat.
Step 4 — Control motion and camera for believable realism
To get “directed” results, give verbs for both camera and subject.
Camera verbs (pick 1–2 per shot):
- slow dolly-in
- tracking left to right
- overhead crane down
- orbit 30 degrees
- handheld micro-shake (subtle)
- rack focus foreground → subject
Subject verbs:
- hesitates, then steps forward
- turns head and smiles briefly
- lifts product, rotates it slowly
- water droplets slide down surface
- cloth flutters in wind
When you combine this, you’re effectively describing a Kling 3.0 motion control workflow—you’re not just describing what exists, you’re describing what happens.
Step 5 — Iterate like an editor (fast improvements)
Most people fail by changing everything at once. Instead, do “single-variable passes”:
- Pass A: keep prompt same, adjust camera only
- Pass B: keep camera, adjust action timing only
- Pass C: keep action, adjust lighting only
This reduces chaos and helps you diagnose what actually improved the clip. It’s also the fastest path to cleaner Kling 3.0 1080p cinematic clips that don’t feel like lucky accidents.
Copy-and-use prompt templates (with mini examples)
Template A — Cinematic scene (Text-to-Video)
Template
[Subject] in [environment]. Over time: [beat 1], then [beat 2], ending on [final pose/frame]. Camera: [shot type + movement + lens]. Lighting: [key mood]. Style: [genre + realism level]. Quality: [detail + motion].
Example
A lone traveler in a cloak stands on a cliff at sunrise. Over time: the wind lifts the cloak, then he takes one step forward, ending on a still silhouette against the sun. Camera: slow dolly-in, wide lens, stable. Lighting: warm sunrise rim light, soft haze. Style: cinematic realism. Quality: smooth motion, high detail.
Template B — Product UGC clip (Image-to-Video)
Template
Use the provided image as the start frame. Keep [product identifiers] consistent. Action: [reveal/use moment]. Camera: [simple movement]. Ending: [clean hero frame with space for CTA]. Lighting: [clean/studio or natural lifestyle].
Example
Use the provided image as the start frame. Keep the bottle label text crisp and unchanged, same color and shape. Action: a hand enters frame, gently picks up the bottle and rotates it 20 degrees, liquid catches light. Camera: slow push-in, stabilized. Ending: bottle centered on table, clean hero frame with empty space on the right for CTA text. Lighting: bright softbox studio lighting, minimal shadows.
This format works especially well when you’re aiming for Kling 3.0 video quality tips like reduced flicker and cleaner branding.
Template C — Character consistency across shots
Template
Character ID block (repeat every shot): [age, face traits, hair, outfit, signature accessory]. Environment constant: [location + time of day]. Camera constant: [style]. Allowed variations: [expression/pose only].
Example
Character ID: 25-year-old woman, oval face, short black bob, small mole under left eye, silver hoop earrings, tan trench coat, black boots. Environment: rainy neon alley at night. Camera style: stabilized cinematic tracking. Allowed variations: expression and head movement only.
If you repeat this “ID block,” your odds of stable identity improve significantly for Kling 3.0 consistent characters.
Common problems and fixes that actually work
Problem: flicker / texture crawl Fix: simplify patterns (avoid tiny stripes), reduce extreme lighting shifts, keep the same time-of-day across shots.
Problem: character or product identity drifts Fix: re-state the ID block, remove extra style mixing, reduce competing adjectives, and keep the camera style consistent.
Problem: hands look weird / object interaction breaks Fix: widen framing, avoid tight hand close-ups, or prompt “hands partially off-camera” while keeping the action readable.
Problem: camera feels floaty Fix: specify “stabilized,” “tripod,” or “handheld subtle,” and add lens language (e.g., “35mm, shallow depth of field”).
Best use cases for Higgsfield Kling
You’ll get the most out of this workflow when you need repeatability:
- Storyboarding a micro-short
- Building a consistent “series” for social content
- Product ads that need a reliable hero frame
- Cinematic atmosphere shots that benefit from shot language
This is where Kling 3.0 short video generator phrasing is more than marketing—it reflects what you’re actually producing: short clips with a directorial structure.
When it’s better to use Kling 3.0 directly instead
Sometimes you don’t need extra workflow layers. You may prefer running the model directly when:
- Your prompts are already solid and you want fast iteration
- You’re rapidly A/B testing variations of the same concept
- You want a more “model-first” experience without extra UI steps
In these cases, using Kling 3.0 video model directly can be the most efficient route.
Recommendation: Use Kling 3.0 directly on Flux Pro AI
Once you understand shot prompts and continuity, your results depend more on iteration speed than on fancy interfaces. That’s why a lot of creators choose to run the model straight from Flux Pro AI—especially when they’re generating multiple variations quickly.
If you want the direct option, start here: Use Kling 3.0 on Flux Pro AI.
And if motion control is your priority (camera verbs, subject movement, stability across shots), this is the same destination with a different keyword phrasing: Try the Kling 3.0 motion control model.