Master the open-weight AI model step-by-step—from prompt crafting to post-editing—using the full suite of creative tools on FluxProWeb.com.
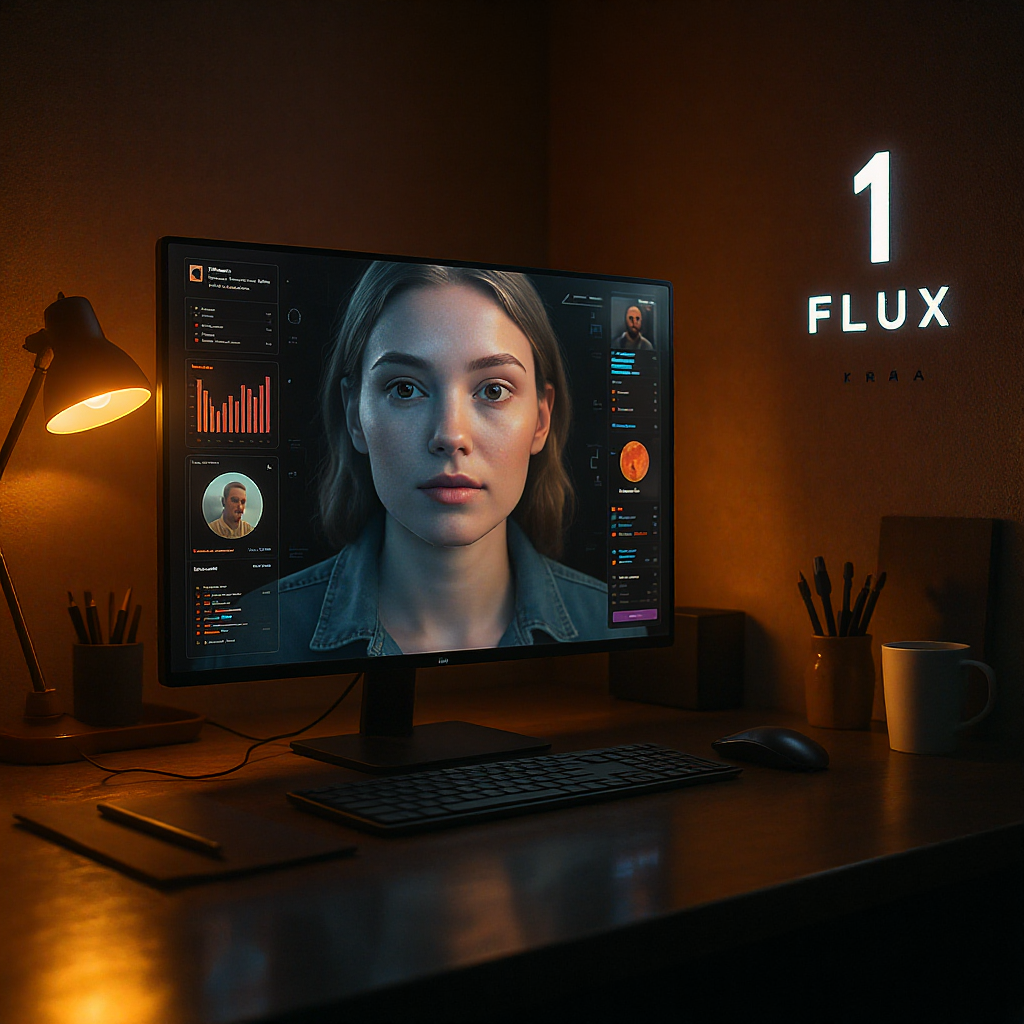
🧠 Why Use Flux 1 Krea?
In 2025, the AI-art landscape is crowded with flashy models that promise everything—but often deliver that same over-glossed, uncanny “AI look.” Flux 1 Krea breaks the cycle. Available directly through the Flux 1 Krea page on FluxProWeb, this free, open-weight text-to-image model is built for clean realism, cinematic lighting, and natural textures.
Whether you’re a concept artist, filmmaker, product designer, or simply a curious creative, Flux 1 Krea helps you generate artwork that looks authentically real—no plastic skin, no exaggerated highlights, just believable results.
🌐 Where to Use Flux 1 Krea
You have three convenient ways to start creating:
-
- Streamlined, distraction-free interface
- “Enhance Prompt” toggle for automatic prompt polishing
- Quick 30-credit generations—perfect for everyday workflow
-
- Fast and free to use
- No installation or GPU required
- Ideal for beginners or rapid exploration
-
Local Setup (Hugging Face + ComfyUI or Diffusers)
- Run it on your own GPU for maximum customization
- Suited to power users and professionals
- Recommended: 12 GB+ VRAM for smooth performance
✍️ Step-by-Step: Generate with Flux 1 Krea on FluxProWeb
Getting started with Flux 1 Krea is easier and more intuitive than ever. Here's how to use the current Flux Krea interface on FluxProWeb:
1. Input Your Prompt
At the top of the generation panel, write your creative vision in the “Input prompt here” box.
✏️ Pro tip: Flux 1 Krea shines with descriptive, realistic prompts. Include lighting, mood, lens type, and subject detail.
Example:
“Close-up portrait of a warrior monk under moonlight, shot on 85mm, shallow depth of field, cinematic shadows”
You can enable “Enhance Prompt” to automatically polish your prompt for better results.
2. Select Your Model Version
Click the dropdown under Model. Choose from:
- Flux Krea – Best for default photorealistic generation
- Flux Krea Image to Image – Upload an image and guide changes with prompts
- Flux Krea Redux – For stylized or experimental aesthetics
3. Choose Your Aspect Ratio
Under Ratio, select your preferred format:
- 1:1 – Great for social profile shots
- 16:9 – Cinematic landscape style
- 2:3, 3:2, etc. – For posters, vertical scrolls, or gallery use
4. Toggle Public vs Private
At the bottom of the panel, you’ll find the Public switch:
- Turn ON to share your generations in the community
- Keep OFF to generate privately
5. Click “Generate”
Once your settings are good to go, hit the glowing Generate button at the bottom.
- Each render costs 30 credits
- Output appears in just a few seconds
That’s it! You’re now creating with one of the most advanced, open-weight image models—Flux 1 Krea. From stunning concept art to hyper-realistic portraits, it gives you full creative control with zero technical fuss.
🧪 Want More Control? Run It Locally
If you're comfortable with AI pipelines or want GPU acceleration:
- Get the model from Hugging Face
→ Flux 1 Krea Dev on Hugging Face - Use with:
- ComfyUI for visual node-based editing
diffusersin Python for programmable control
- Recommended: NVIDIA RTX 3060 or better
🔧 Pro Tip: Combine Krea output with LoRAs or inpainting for custom model fusion.
🪄 Edit and Refine with Flux Kontext AI
Once you’ve got a great base image, you might want to tweak it—fix a hand, remove a lamp post, or change the background.
That’s where Flux Kontext AI comes in.
Why Use Kontext?
- Text-based edits (“make background blue,” “remove dog”)
- Pose adjustments
- Inpainting broken areas
- Preserve realism from the original Krea render
Perfect for post-gen polishing without starting from scratch.
💡 Pro Tips for Better Results
- Be specific, not poetic: “frosted glass window” > “dreamy vibes”
- Stick to 1–2 subjects
- Use real-world camera lingo (f/1.4, backlight, ISO)
- Avoid stacking too many concepts in one prompt
- Use multiple re-rolls to pick the strongest composition
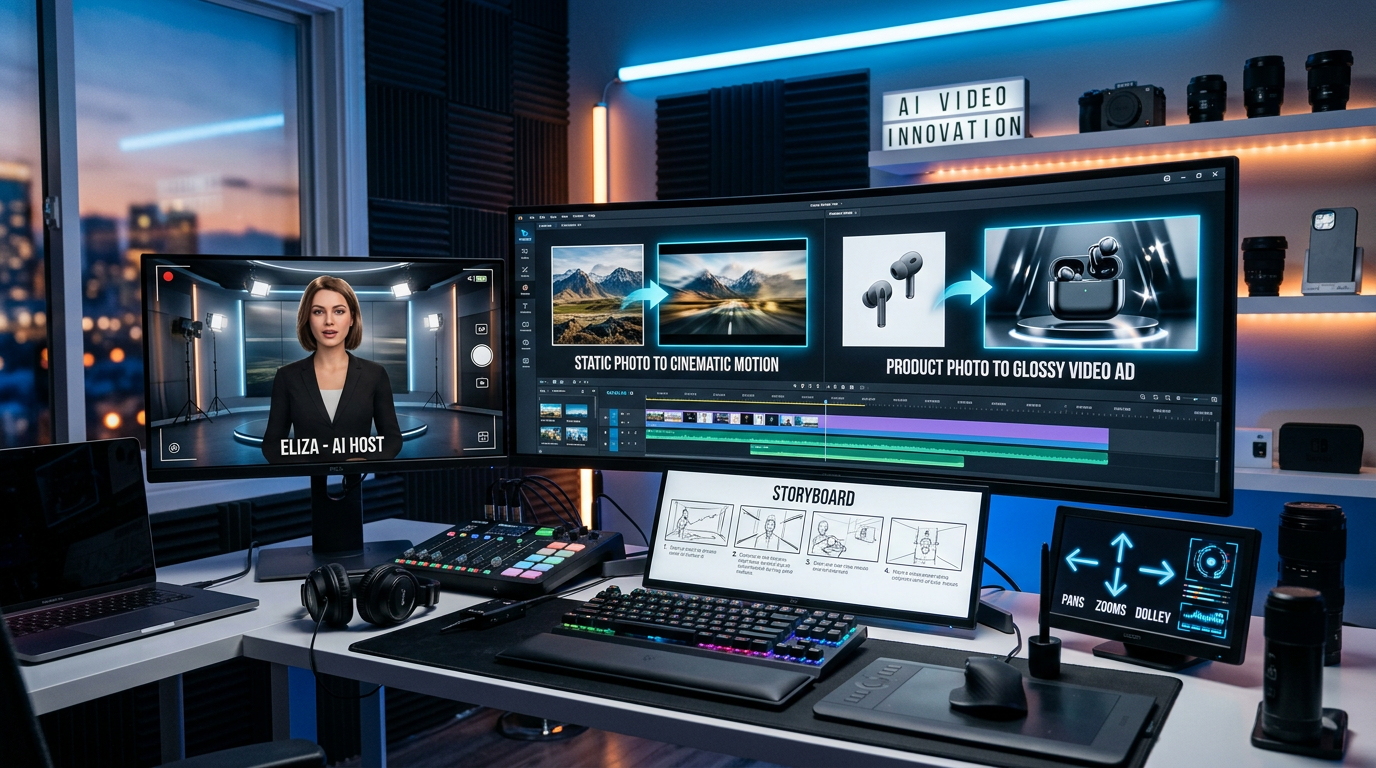
🎞️ Turn Stills into Stories: From Image to Video
Got your masterpiece? Now animate it!
Use the Flux Video Generator to turn Krea-made images into scroll-stopping short clips.
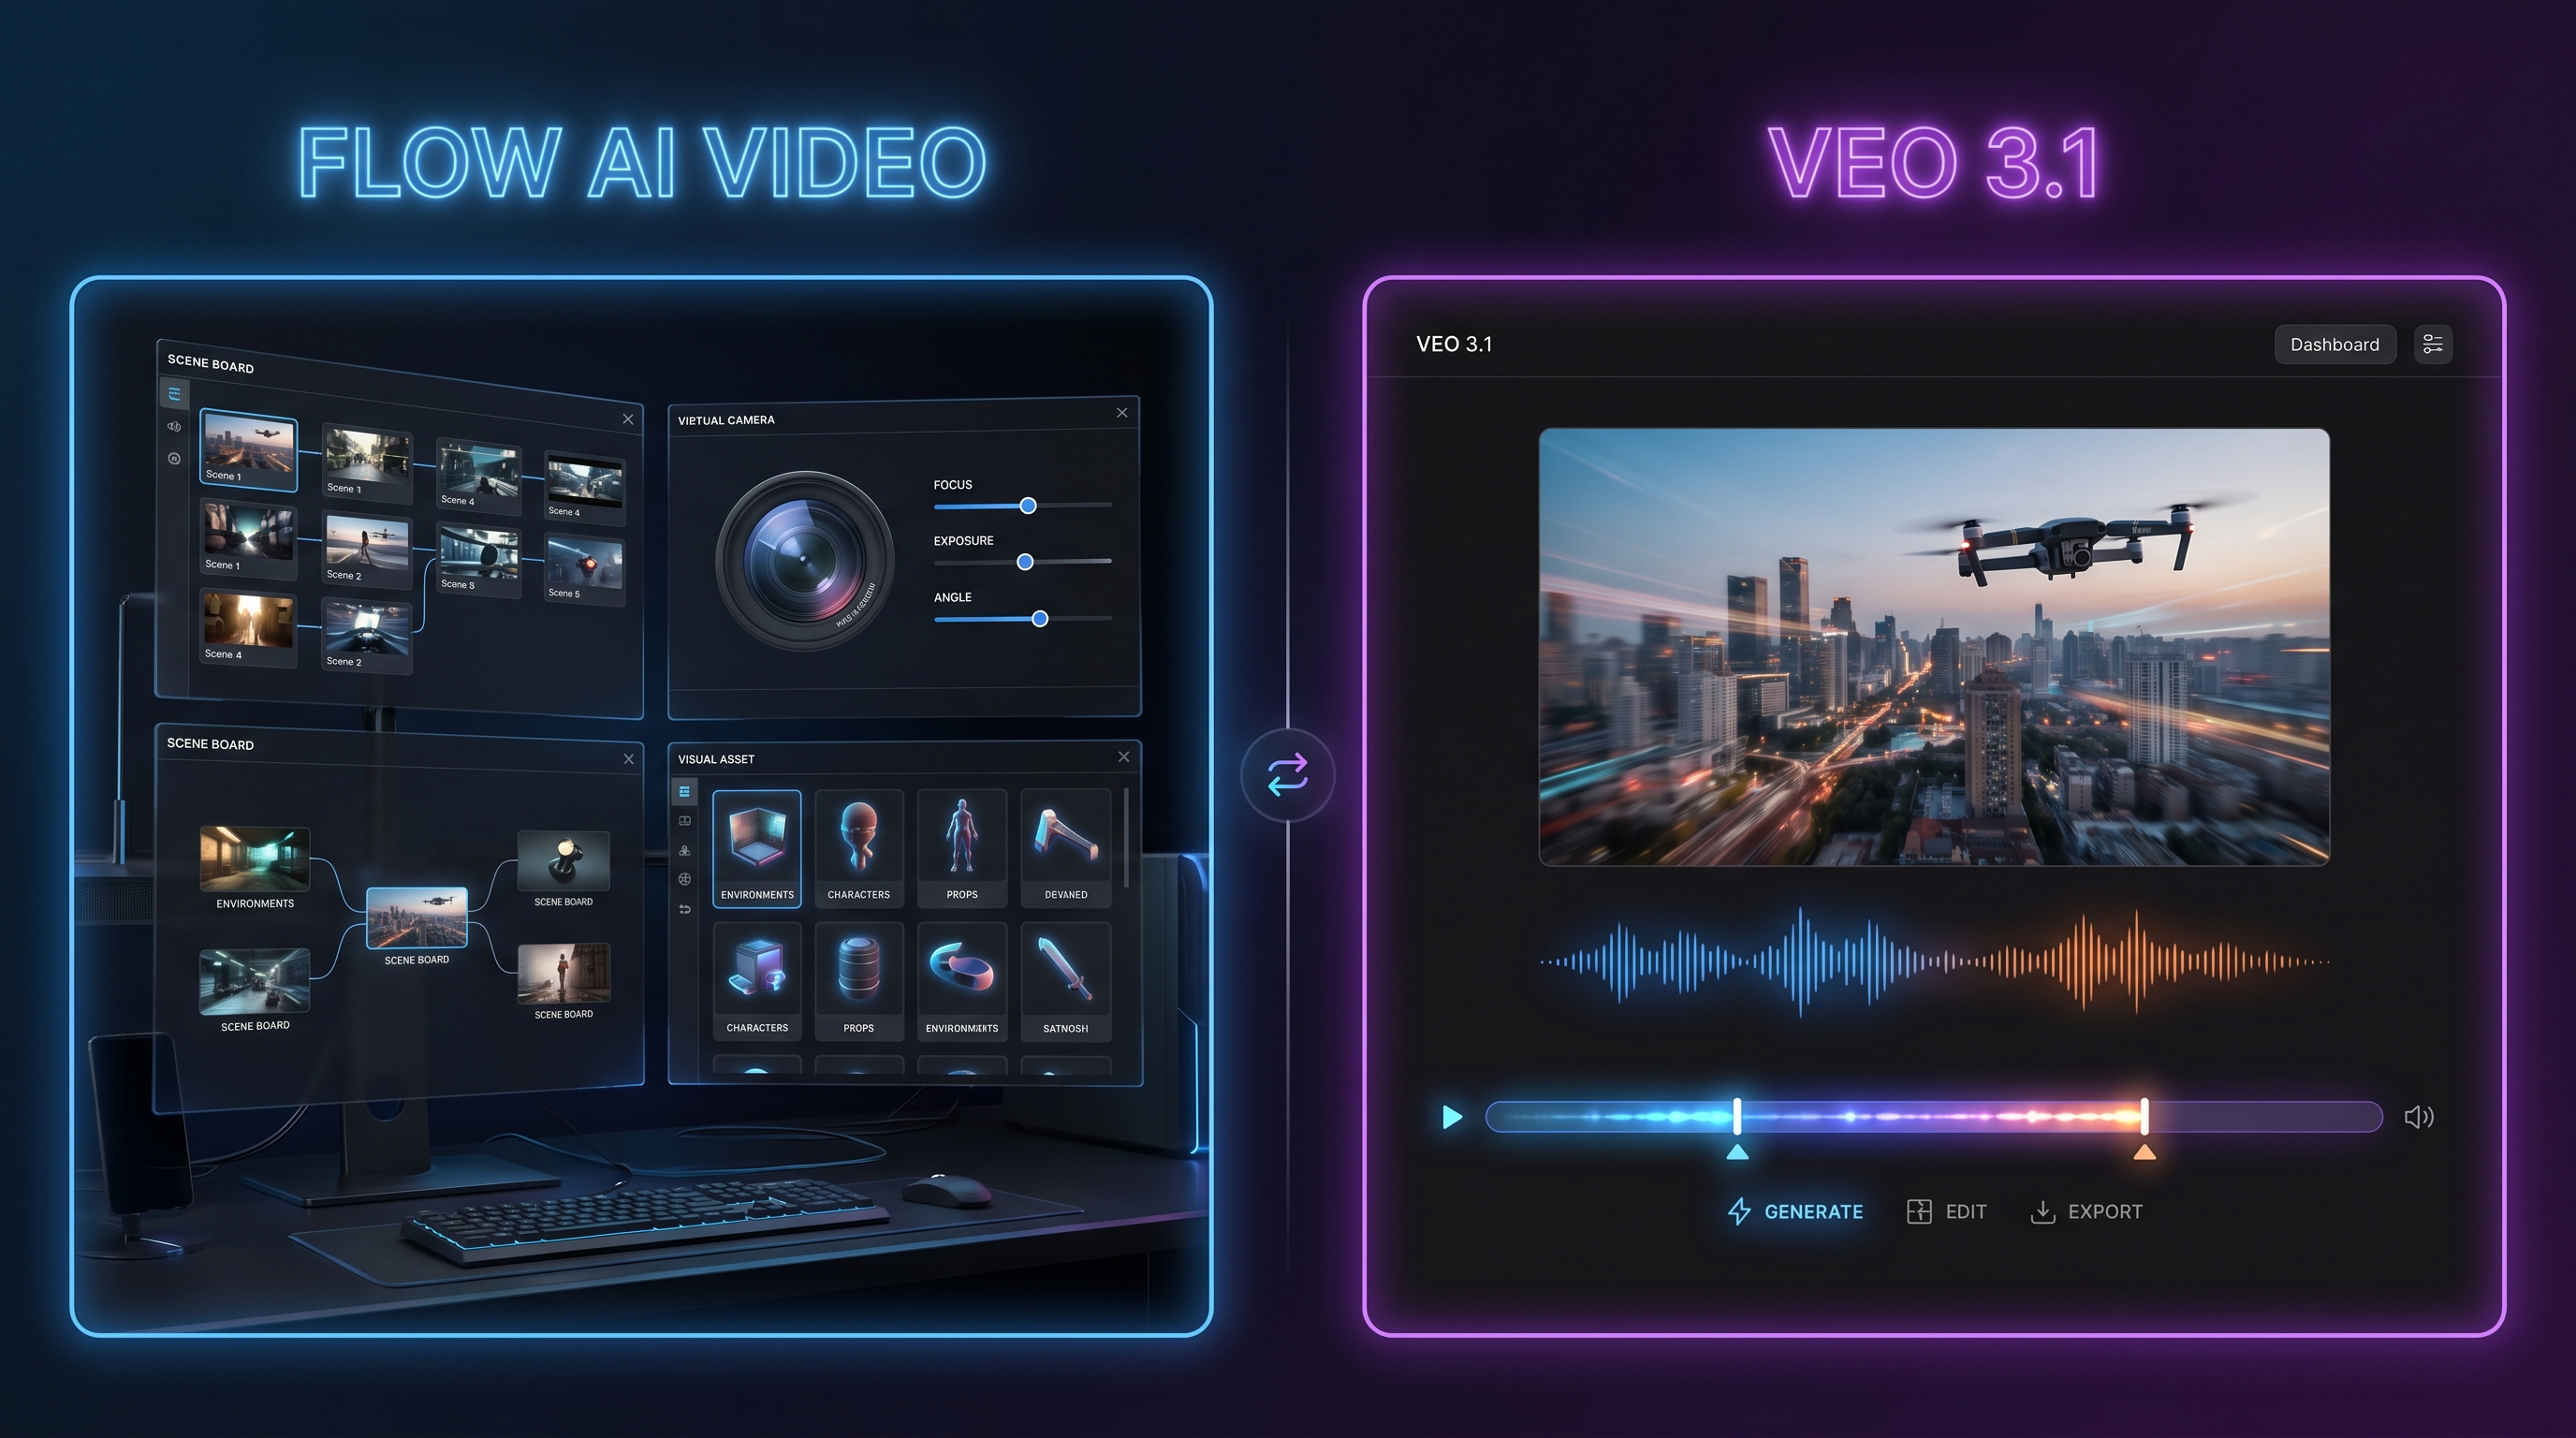
You can also try:
- Midjourney Video 1.0: Stylized movement for artistic content
- Veo 3 Text-to-Video: Create from just a script
Great for product showcases, concept trailers, or visual storytelling.
⚠️ Avoid These Common Mistakes
- Using vague terms like “beautiful” or “epic”
- Including too many subjects in one frame
- Not adjusting aspect ratio
- Expecting flawless text rendering (it’s still tricky for AI!)
- Ignoring Krea’s bias toward realism—don’t force anime or surreal styles
🧩 Build Your Best Workflow with These Tools from FluxProWeb.com
| Tool | Link | Use Case |
|---|---|---|
| Flux Kontext AI | fluxproweb.com/flux-kontext | Smart edits, object removal, pose change |
| Flux 1 Schnell | fluxproweb.com/model/flux-1-schnell | Fast, lightweight generator for drafts |
| Flux 1.1 Pro Ultra | fluxproweb.com/model/flux-1-1 | Ultra-high resolution stills |
| Flux Video Generator | fluxproweb.com/video-generator | Turn images into cinematic videos |
| Flux Prompt Explorer | fluxproweb.com/prompts | Browse and remix top prompts |
| Credit Plans | flux-ai.io/pricing | Scale from hobby to pro workloads |
✅ Final Thoughts
Flux 1 Krea is more than an image generator—it’s the heart of a growing creative ecosystem. When you pair it with Flux Kontext for edits, Flux 1.1 Pro Ultra for premium resolution, and Flux Video Generator for motion, you create not just art, but experiences.
Ready to see what Flux 1 Krea can do for your imagination?
👉 Try Flux 1 Krea now
👉 Explore more tools on FluxProWeb.com